From EncyclopAtys
To the v3 User Manual and de l'utilisateur v3 FR
Part 1 Install the game (with updates resume) • Create an Account and Avatar • Free to Subscribe and Steam • contact support (see An issue to log in?, I need to change my email...)
Part 2 Basic presentation • Advanced Controls on the User Interface (Keys, P I B J M, Avatar Gauges, Compass, Chat (Special command), Target Reticle, Pop-ups, Windows and toolbars) • Use the map • Missions, quest and rites • Store (Mount and Mektoubs, Apartments, Merchants) • Apps (in game, Webapps and API key) • Macros
Part 3 Chat and emotes (Chat, Emotes) • Coma/Death and penalties • Teleportation • Skills (Foraging, Crafting, Fighting) • Guilds and Outpost • Mobs • Common Acronyms and Abbreviations • contact Event Team
Part 4 Credits • GNU Free Documentation License
The MACROS window is found under Task-bar>System>Macros which, when clicked, shows the window.
At the top right is a button NEW MACRO. Press this button to open a new window to get started.
First, select the Icon to create an unique icon for this macro. Pick a background colour, a foreground colour, a pattern, and a 5-letter text name that will appear on the icon itself, then OK. Next, select a descriptive name for the NewMacro. Assign a key if you wish, then ADD COMMAND.
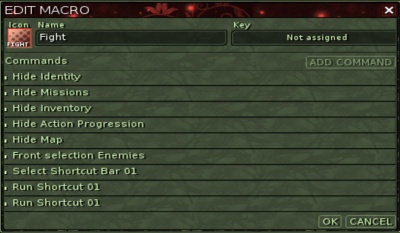
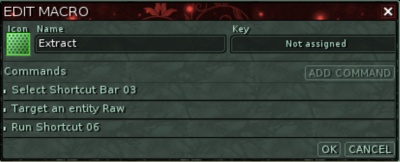
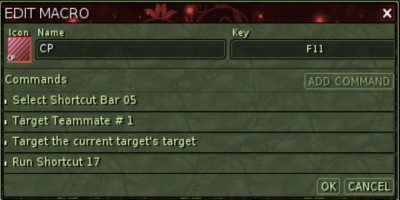
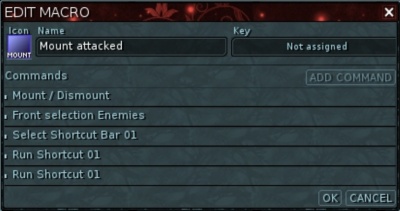
This is where the fun starts. Commands are arranged in categories for use. Select a Category then an Action to perform. Keep doing this in the desired order of final execution, from top to bottom. By right-clicking a command, it can be moved up or down, edited or deleted. It will take some practice and testing to get macros to work the way you want. Drag the finished macro icon to the action bar if you didn't assign a key to it. Here are some examples:
Links
- A macro Invisible mount, see Patch 2019#JY 2603 patch about a change on macros.
More on Macros (from January 2010 )


